Thursday, August 5, 2010

Week 16 The Can-Can Challenge.

All the drilling , cutting ,final changes and assembly were done , this is our how our final mechanism looked like.

Side View :


Front View:


Well it looks pretty simple but it took quite awhile to make it fit together.

One of the problems we encounter were space limitation , due to the fact that we used two servo motors instead of one.The plate that held the two motors into place were pretty small , this caused our mechanism to knock against each other when it operates.We solved this problem by placing each arm on a different level , One higher then the other and we filed off any unnecessary corners that would allow the restriction of movement.

Programming was also tough as we had to program two servo motors at once.This was easily solved by our group's programmer.

After we made some final touches , the Can-Can challenge begins.


Our Group B's first try :


We didn't do too bad , on our first try we got a total of 10 cans.But one other group had 11 cans on their second try.So we prayed that we would exceed their score on the second try.


We did better in our second try , we scored a total of 13 cans.We ended up with the highest score among the groups.This goes to show simple designs has its advantages. With this the Can-Can Challenge ended.

Throughout the weeks of preparing for the challenge we faced some tough decisions and problems.We learnt how to compromise and make our mechanism work the way we want it to.


We had a very fun and enjoyable experience.We like to thank Mr raja ,our lecturer for making this such a enjoyable module.
Thank You!

Friday, July 30, 2010

Week 15 The final update.

We have made some changes to our designs.During the fabrication on last week , we found out that our mechanism is too small compared to the others.Lucky we still had enough material to make a bigger mechanism.The designs remained the same , only the size was increased.

This is the updated Auto Cad drawings for our mechanism.As you can see , the length and width are much longer.

FULL:


Mechanism Plate:


Protuding Part:


Arm:


The fabrication of the new mechanism has taken place.


Cutting and drilling took place during lesson time on the 27th July.


As you can see the new mechanism is now 1.5x bigger than the first.This is to ensure that the claw is able to grab the can.


This is the end product after cutting and drilling parts of the mechanism.


We attached the servo horn to the claws by use a screw and a nut.This ensures that the two parts are held in place.


On Wednesday the 28th , testing of the mechanism took place. One part of the mechanism was used to determined the direction and the speed of the mechanism.We programmed it so that the claw would not crush the can.

We had some trouble with the programming as we need to program two servo motors.The left and right parts of the claw was suppose to rotate in an opposite direction.But it happen to go in the same direction.After a few adjustments we managed to program it with the right speed and the right direction.

Wednesday, July 21, 2010

AUTOCAD 2D DRAWING- updated again

Overall:


Part 1: Mechanism Plate


Part 2: Protuding Part


Part 3: Arm

Tuesday, July 20, 2010

Week 14 (Fabrication)

Full view:


1st piece of the mechanism: Mechanism Plate

2nd piece of the mechanism :Protuding part

3rd piece of the mechanism: The arm

Thursday, July 15, 2010

Week 13 AutoCad (Updated) and Planning

Deleted some unnecessary dimensions , components now have a separate border :
Full View:

Left View:

Middle View:

Right View:


These dimensions have been confirmed.
Planning of components on the polycarbonate plate is in progress.


Cutting of the plate will take place on 20/7/2010.

Tuesday, July 13, 2010

AUTOCAD 2D DRAWING (MODIFIED)

Modified the dimensions of the arm and separated each part into individual borders.
This is how it looks like:

Part 1:


Part 2:


Part 3:

Monday, July 12, 2010

AUTOCAD 2D DRAWING

THIS IS THE AUTOCAD 2D DRAWING.


Before:


Updated version:


THE PARTS INCLUDE:
1)Both of the arms(Plan view)
2)3rd angle projection of the right arm
3)3rd angle projection of the protruding part
4)Mechanism Plate

*Modified:
Polycarbonate plate with individual parts from 2) to 4) inside its border.
Where to place them is not finalized and will be done on 13/7/2010. The fabrication of individual parts will also be done on the same day.

Wednesday, July 7, 2010

Isometric drawing


This is the updated version of the isometric drawing which includes the mechanism, mechanism plate ans servo motors.

The servo motors powering the arm is non continuous.

Tuesday, July 6, 2010

IE drawing

The new IE drawing will be emailed instead of megaupload.
1)Both of the arms(Plan view)
2)3rd angle projection of the right arm
3)3rd angle projection of the protruding part
4)Mechanism Plate

The measurements are in 10:1 scale and in cm.

Saturday, July 3, 2010

Click here for IE drawing

This is the IE drawing:
1)Both of the arms(Plan view)
2)3rd angle projection of the right arm
3)3rd angle projection of the protruding part

The measurements are in 10:1 scale and in cm.

New drawing of the mechanism


This the drawing of the arms.

The items requested are the 2 nuts and 2 screws.

Friday, June 25, 2010

Materials


Materials needed:
4x wooden rods to support each ends of the arms
8x screws
2x nuts
2x sensors
2x servo motor-continuous
Polycarbonate plate 200x300x4.6

*The drawing is not drawn to scale

The left and right claw are almost the same except for one part.

The dimensions of the drawings have not been decided yet but this is what the mechanism is supposed to look like.

Tuesday, June 22, 2010

Isometric drawing


This is the detailed 3D drawing of the mechanism. The claws will be attached in front of the base chassis. Its function is to grab the can and move backwards to the starting line while pulling the can along with it.

More modifications will be added to the design later on.

Thursday, June 17, 2010

Delay

Sketching of the mechanism is done and will be posted on the blog on Monday(21/6/10)as there will a group meeting. The mechanism has been confirmed. The mechanism will be broken down into several components. The length and width estimated will be recorded and done in AutoCad 2010.

Furthermore information will be posted next week after the group meeting.

The fabrication of mechanism and programming will be done on week 11.

Wednesday, June 16, 2010

Brainstorming and generating concepts

Task 1:Brainstorm and generate concepts of a mechanism to fulfill the function of transporting an empty drink can across a given distance of 50cm.

Conditions:
-During the time span of 2mins, the robot is supposed to travel 50cm of distance to carry or toss the (70mm in diameter) can back to the starting line.

-The design of the robot can only fit into a perimeter of maximum 400x300x300 mm including the operating locus of any mechanism.

-No modifications to the Base chassis.

Decisions:
Toss or transport.

Toss
Pros and Cons
-Pros
It is more efficient to toss the can back to the starting line as the robot can transport more cans within the 2mins time limit. There is no rule saying that the robot must be at the starting line after transporting the can.
-Cons
However, creating the mechanism is not easy and the motor might not have enough power to toss the can back to the starting line. Using gears can help to increase the power of the motor but it will also reduce the speed. Thus, the robot might not be able to transport as much cans back to the starting line as expected.

Carry
Pros and Cons
-Pros
Building the mechanism would not be difficult as it will only involve grabbing of the can.
-Cons
It would be more time consuming as the robot have to return back to the starting line. There is also a rule stating that no modification to the base chassis is allowed thus gears could not be added to increase the speed.

Ideas:
1) Building a slide and a grabber.

How it works:
This mechanism is using the toss idea. Instead of tossing, the can would be rolled back to the starting line like on a slide. Firstly, the can would be pushed onto the slide by tiny grabbers at the side of it. Then the slide would flip backwards which will carry the can along with it. Then by gravity, the can would slide down and roll towards the starting line.

Pros
The robot does not have to move back and forth. As it is a slide, little power is needed to bring the can back to the starting line.

Cons
A lot of power is needed to flip the slide backwards as it is now carrying the can. A lot of materials would be needed to build the mechanism and it might exceed the materials given. Fabrication of the mechanism would be tough especially the tiny grabbers. Not to forget that a sensor has to be addded in.

2)Grabbing the can and move backwards

How it works:
The concept is simple. The robot will grab the can using claws inserted in. Then instead of turning 180 degrees, it simply moves backwards. When it reaches the starting line, it lets go of the can.

Pros
The mechanism is easy to construct and a sensor can be inserted in easily. It is more efficient to just move backwards instead of turning 180 degrees back and returning to the starting line.

Cons
It is much slower than tossing and it requires mobility as the robot has to return to the starting line and go back. Furthermore, there is a rule saying no modification to the base chassis so modification to the robot's speed is not applicable.

Our group has only narrowed down to these two ideas as it appeared to be reasonable and applicable. The rest of the ideas are not constructable as we are not sure on how to construct it.

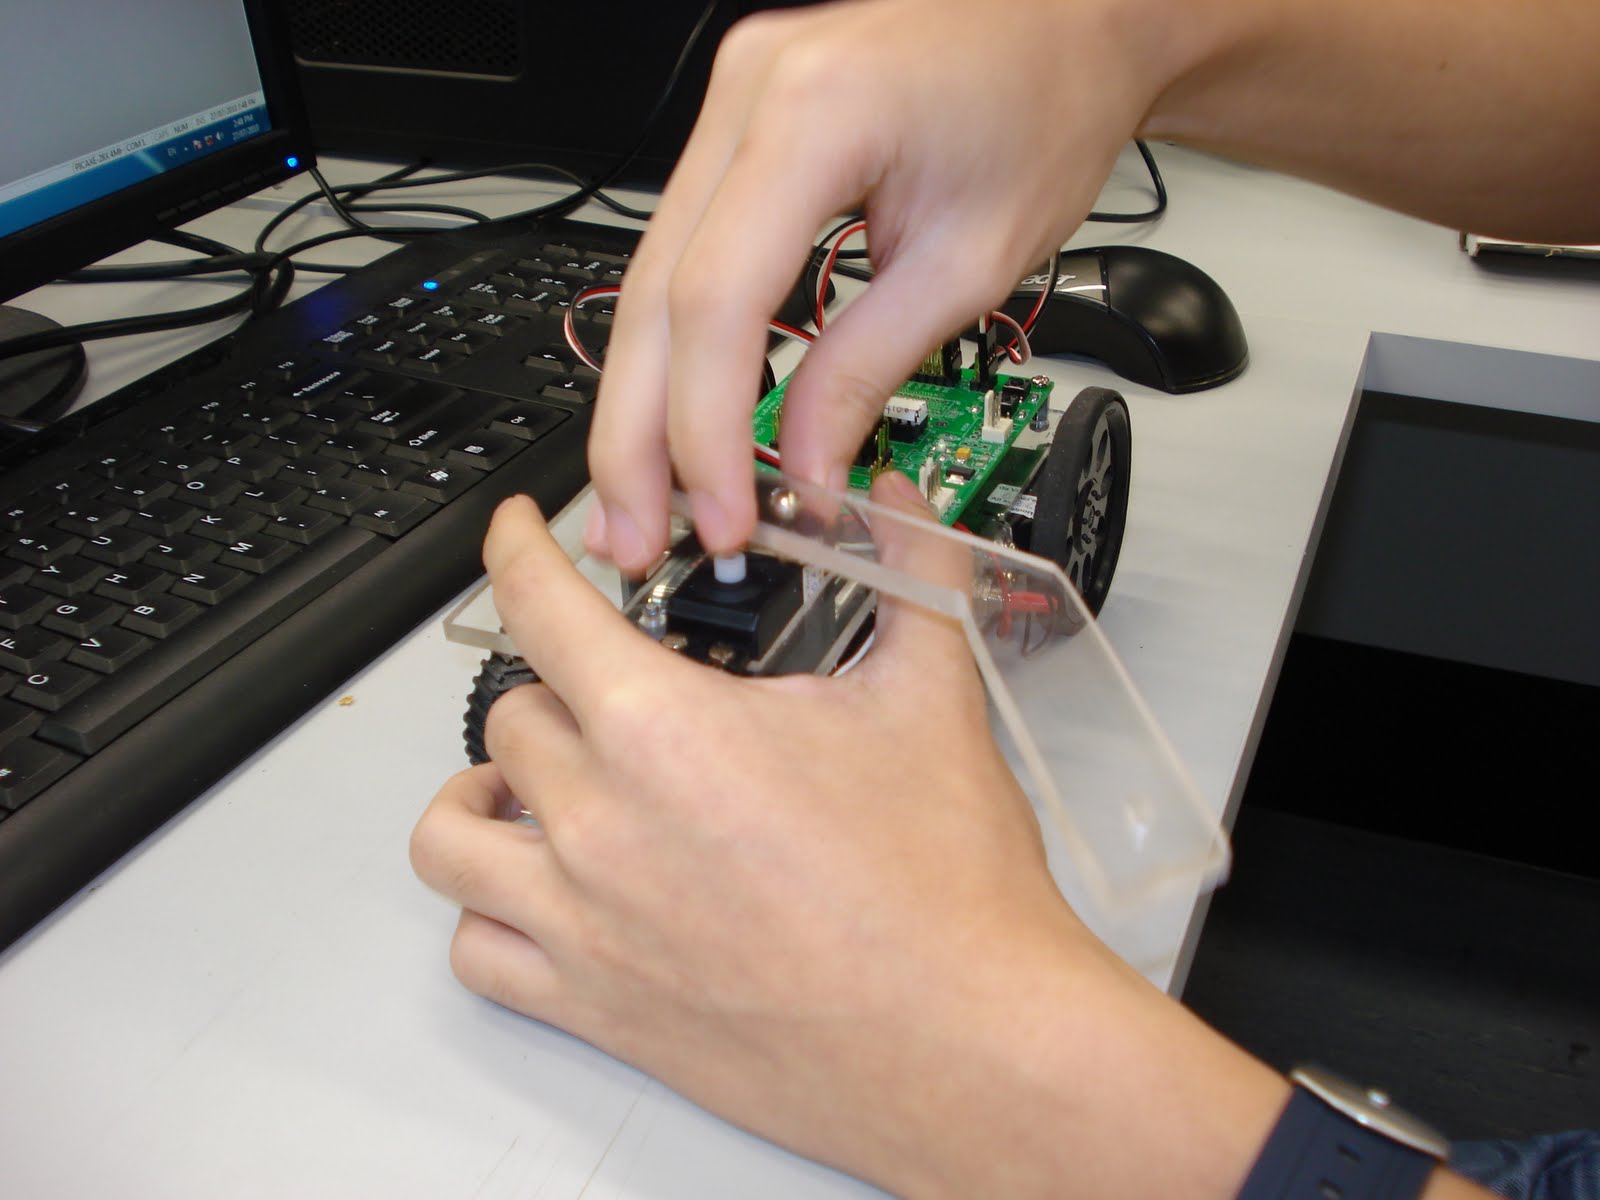
After the group's discussion over the last two weeks, we had decided to go with decision no.2 as it is much easier to construct and seen as the most promising.